Berry Tasty Honey Wine

Elderberry Honey Wine


This is a simple recipe that I discovered for making elderberry wine. It is quite easy, takes little preparation and yields wine within 2-4 weeks! The production of alcohol requires an anaerobic environment; thus this process requires an airlock.

Photos by Rachael Witt

Photos by Rachael Witt


Prep: 5 minutes     Fermentation: 2-4 weeks     Storage: 6-12 months


Materials:

·      1 gallon jug

·      airlock

·      bung

·      plastic tubing

·      auto-siphon (optional)


Ingredients:

·      9 cups water

·      4 cups raw honey

·      4 cups elderberry

·      1 package champagne yeast


Directions:

1.     In large pot, bring water to just under the boiling point, turn off heat, and let cool for a few minutes. Stir in the honey.

2.     In a separate bowl, lightly mash the elderberries. Add the fruit to the water-honey mixture. Let it cool until the temperature is below 100°F (lukewarm to touch).

3.     Using a funnel, transfer the honey-water-berry mixture into the gallon jug. Read yeast package directions and follow before adding yeast to mixture (if necessary, rehydrate yeast before proceeding). Sprinkle yeast on the surface of the liquid.

4.     Fill the airlock with water to fill line, attach it to the bung, and place it in the jug to create a tight seal. Place jug in cool, dark location.

5.     After 2 weeks, test the honey-wine. If you like the flavor, it is done and ready to be siphoned. If you would like the honey-wine to be more dry (less sweet), continue to ferment for up to 2 additional weeks. Keep in mind that when bottling the honey-wine with a lot of sugar still remaining will create carbon dioxide and cause carbonation within the bottle.

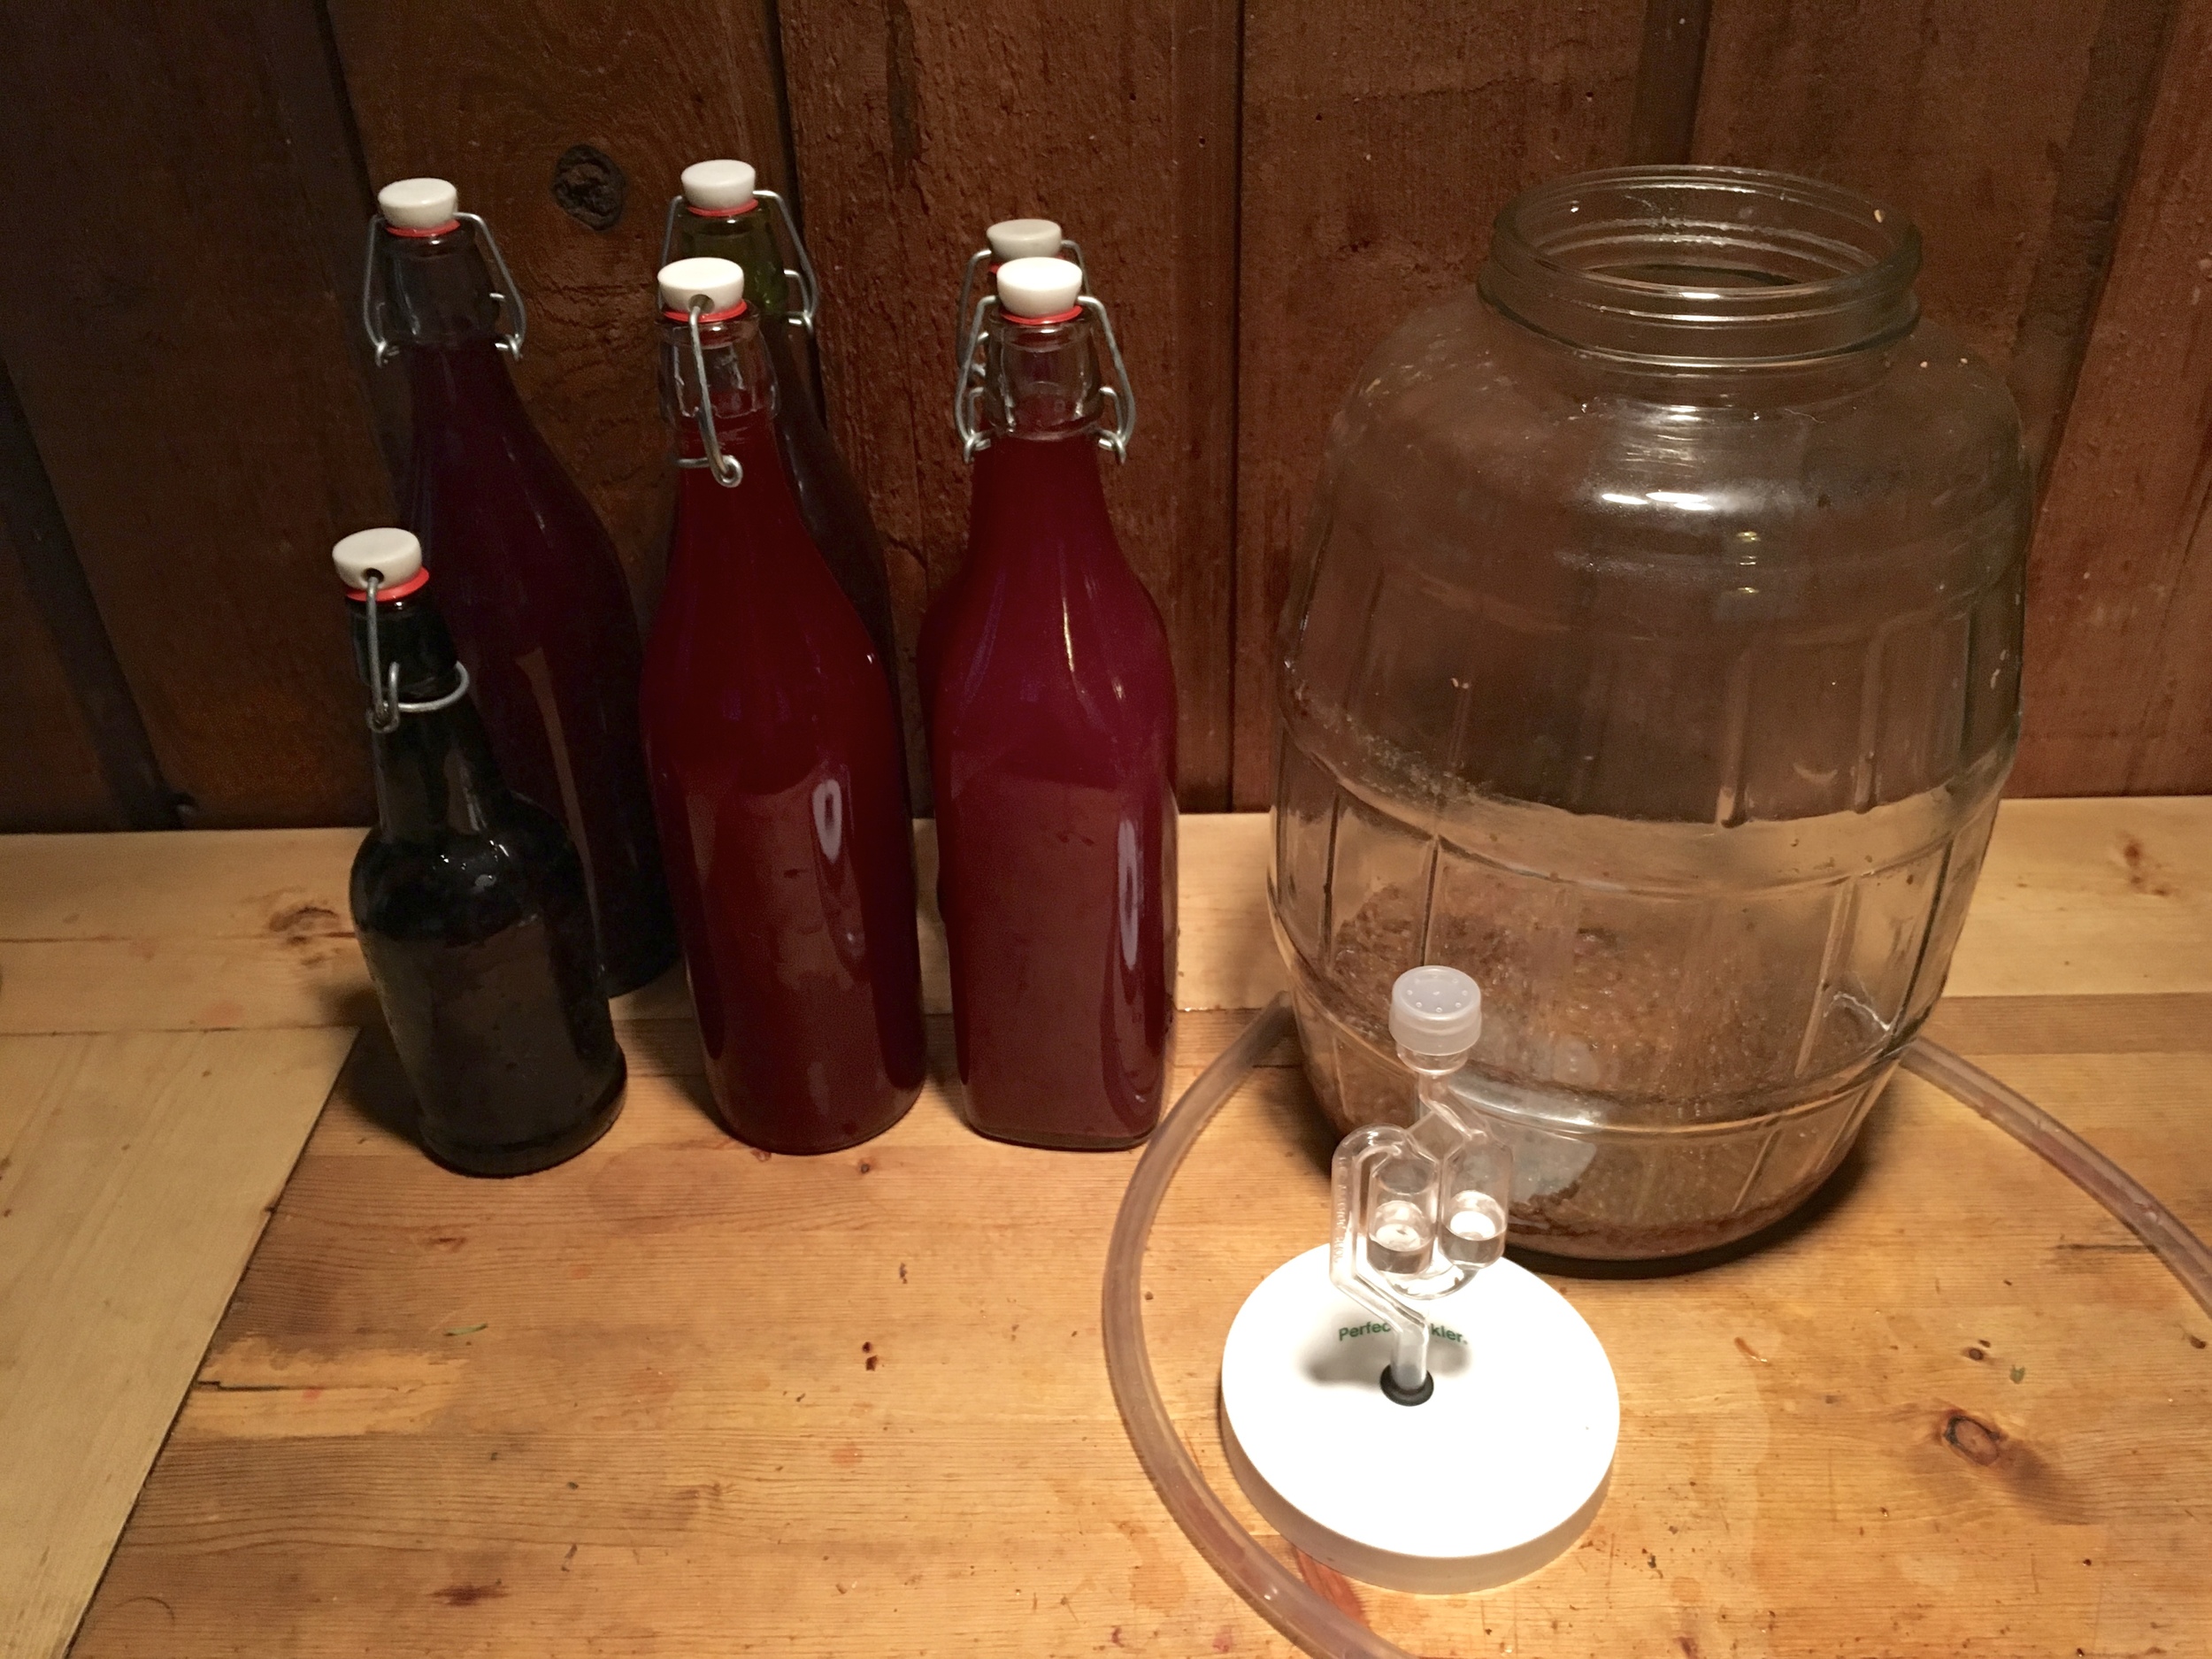
6.     Prepare 10-12 swing-top bottles (4-6 22oz. bottles). Transfer the honey-wine using the plastic tubing and siphon into bottles, taking care not to disturb the sediment.

7.     Cap the bottles and store them until ready for drinking.


MAKES 1 GALLON.


OTHER OPTIONS: You can double the batch if you have a large carboy to ferment in. Also you can experiment with different berries. For instance, blackberries and salmonberries make a lovely honey-wine!

Sunflower of the Desert

Arrow Leaf Balsam Root

Scientific Name: Balsamorhiza sagittata

Family: Asteraceae

Parts Used: Root, Leaf

Taste: Pungent

Energetics: Warm, Dry

Actions: Stimulant, Expectorant, Diaphoretic, Antimicrobial, Antifungal

Identification: I commonly find Balsam Root on the eastern side of the Cascades. It grows in forested mountains and the sage brush steppe.  During Spring, Arrowleaf Balsam Root begins to put on a show with its bright yellow, sunflower-like ray flowers. The flower head can grow to be about 3-4 inches in diameter.  The leaves are long and large and are generally arrow-shaped or triangular. They can average 20 inches in length.

IMG_3092.jpg

Collection:  Come April-June in Washington, I am making my “East Side” trip. Eastern Washington, that is. On the hillsides of the Cascade rain shadow you will find slopes of sagebrush steppes or open areas of conifer woodlands covered with the brilliant yellow sunflower-like flower of Arrowleaf Balsamoot. Some joke, that tourists are dumbfounded to find such a unique sunflower in the high desert! While others know, this is the time for collection. Find a digging stick and start removing the stones and earthy material that Balsam Root maneuvers around. You may be following the root for a couple of feet into the earth (for this plant helps prevent erosion). If the resin is running from places of puncture in the root, then you know that there is good medicine ready for you. I like to follow Michael Moore’s directions on making Balsam Root Honey… Oh, and make sure you fill the hole and make your area of collection unnoticeable :)

**Yes, there is an abundance of this herb (or so it appears) yet Arrowleaf Balsamroot takes many years to mature. Harvest with respect and understand how much you are taking and how long it will be until the next plant grows in its place. Also, only take what you need or the plant allows.


Balsam Root Medicine

Cold & Flu

The root is known as an immunomodulator. It is a stimulant to many defense responses. Meaning at the onset of a cold or flu, Balsamroot can help fight off any symptoms before they truly set in.  Michael Moore claims that Balsamroot is superior to an Echinacea/Osha combination. It can help coughs both chronic and acute as well as heavy colds. Balsamroot is even kid friendly :)


Respiratory Issues

If you get a chance, suck on a freshly dug root and observe what happens in your mouth. Arrow Leaf Balsam Root tends to be warming and drying. If there happens to be a lot of mucus in your body, the root will help break up and expel the mucus, helping release the sinuses. It also helps soothe a sore throat (you’ll feel, smell and see this when harvesting the root, a lubricating sap will flow from broken sections). It makes a wonderful throat lozenge when you’re out walking about on the sage steppe.

Arrowleaf Balsamroot serves as an expectorant. It loosens mucus and helps both the lungs and sinus release any build-up congestion. This is a great herbal ally for those with re-occurring bronchitis or pneumonia.


Infections

I have personally used Balsamroot for a lung infection, bronchitis. Yet, Michael Moore states that though it is not as specific as other herbs, the disinfectant diuretic qualities of Balsamroot are effective in treating UTIs (especially combined with Yerba Santa and Grindelia).


Burns

Ethnobotanically speaking, the leaves were used as a poultice on burns and wounds. I have personally used the leaves as a spit poultice on a sunburn and it was both cooling and relieving, helping my skin heal.


Preparations: tincture, decoction, oil extract, hydrosol, hone

Plant Poultices

What in the world is a poultice?!

According to James Green a poultice is “a soft, mushy preparation composed usually of some pulpy or mealy substance which is capable of absorbing a large amount of liquid and of such consistency that it can be applied to any flat or irregular surface.” Wait what? It’s almost like an herbal “paste” made of macerated herb and water. Poultices are applied to the outer skin either directly or with some cloth in between. Ideally, a poultice is warm or hot, to help release the medicinal constituents of the macerated plant. Yet, in a survival situation, any water temperature will have to do (saliva being the warmest at times…).

A poultice is moist and helps relax tissue and relieve pain OR lubricates the skin and draws infections or toxins out. A lot of poultices can help reduce inflammation as well as external irritations.


What’s the point of making a poultice?


Poultices can be used for:

-Sprains, Broken Bones and Bruising **Reducing muscle & joint inflammation

-Reducing Inflammation

-Cleansing or Healing Eye irritations

-Burns

-Insect bites & Bee Stings

-Drawing out Staph Infections, Splinters, Etc.

- To Stop Bleeding


Here’s a list of plants that you can find commonly in the states and, more specifically in the PNW, that you can make poultices with:


Plantain (LEAVES & SEEDS)

Anti-inflammatory, bug-bites & bee stings, stinging nettle stings, astringent, splinters, minor wounds and infections


Usnea (WHOLE LICHEN)

Stops bleeding and fights infections


Bleeding Heart (ROOTS & LEAVES)

**This has a huge effect on some people (even by touching the plant, be cautious) and can cause cardiac arrest if ingested too much. Do not use if Pregnant. **

Helps reduce pain. Use for bad breaks, sprains and bruises.


Oregon Grape (LEAVES & ROOTS)

Staph infections


Yarrow (LEAVES & FLOWERS)

Hemostatic, helps stop bleeding, Reduces muscle and joint inflammation


Comfrey (STEMS, LEAVES & ROOTS)

Pain relief, Anti-inflammatory, Reduces swelling and bruising, Mends Tissues (A.K.A. Knit-Bone)


Chickweed (WHOLE PLANT)

Itching relief, Draws out infections and also stings and bug bites


How to make a poultice?


Spit Poultices:

The REALLY simple method

I recommend a spit poultice if you are on a hike, or need something in a hurry. The best example is when you or someone around you gets stung by a bee. If there just so happens to be plantain at your feet, follow these steps:

-pick it

-chew it up (until a lot of saliva is produced)

-make that mushy, moist poultice in your mouth

-spit it out onto the stung area or onto your hands to apply to the area with the bee sting

**I do recommend using your own saliva for your own sting, cut, sprain, etc.


For Open Wound Poultices:

-Use a clean bandana or gauze

-Put plant material in sterile bandana or gauze

-Crush plant material on clean surface (if you are doing this in the wild, river rocks or rocks in general might be your cleanest option)

-Soak macerated plant material and bandana in warm/hot water (or whatever temperature water you have based on your situation)

-Apply for 5-20 minutes on wound


**This is a good method if you are camping or backpacking or just playing in the woods…


Closed Wound (Sprain, Bruise, etc.) Poultice:

The Simple Method

1.     Put freshly chopped herbal material into a clean white sock or bandana or gauze

2.     Tie cloth at the top

3.     Place cloth and crushed herbal material into a shallow bowel

4.     Pour hot water over the cloth/plant material

5.     Knead in water (once its cool enough for your hands to touch)

6.     Apply to affected area until the poultice is cool

7.     Repeat steps 3 to 6 to reheat and reapply the poultice


The Kitchen Complex Method

1.     Harvest fresh plant material and put it in your blender or Cuisinart

2.     Pour warm water (or ice and ice water if you want a cold poultice) over herbal material, covering the plant

3.     “garble” or macerate or blend

4.     Add flax seed or oil or tincture to make it gel and increase the medicinal strength of your poultice, blend

5.     Apply directly on skin or place in center of bandana or clean cloth, fold, and apply on wound


**I love this method for comfrey & calendula flowers…